KMP (Kotlin Multiplatform) Firebase setup
Intro

Nearly every mobile application nowadays utilizes Firebase in some capacity, whether it’s implementing CRUD operations through their NoSQL database, analyzing A/B tests, or detecting crashlytics. It has become a crucial component for launching your app successfully.
Unfortunately, when it comes to Kotlin Multiplatform (KMP), Firebase lacks official support, as highlighted in this UserVoice thread. However, GiveLiveApp has taken on much of the heavy lifting with their SDK wrapper.
This blogpost goes in hand with using this SDK instead of reinventing the wheel, you’re free to use expect/actual anytime.
Steps
Create Firebase project
Navigate to the Firebase console and click “Add project”
It should look like this 
Choose a name for your Firebase project and click “Continue”.

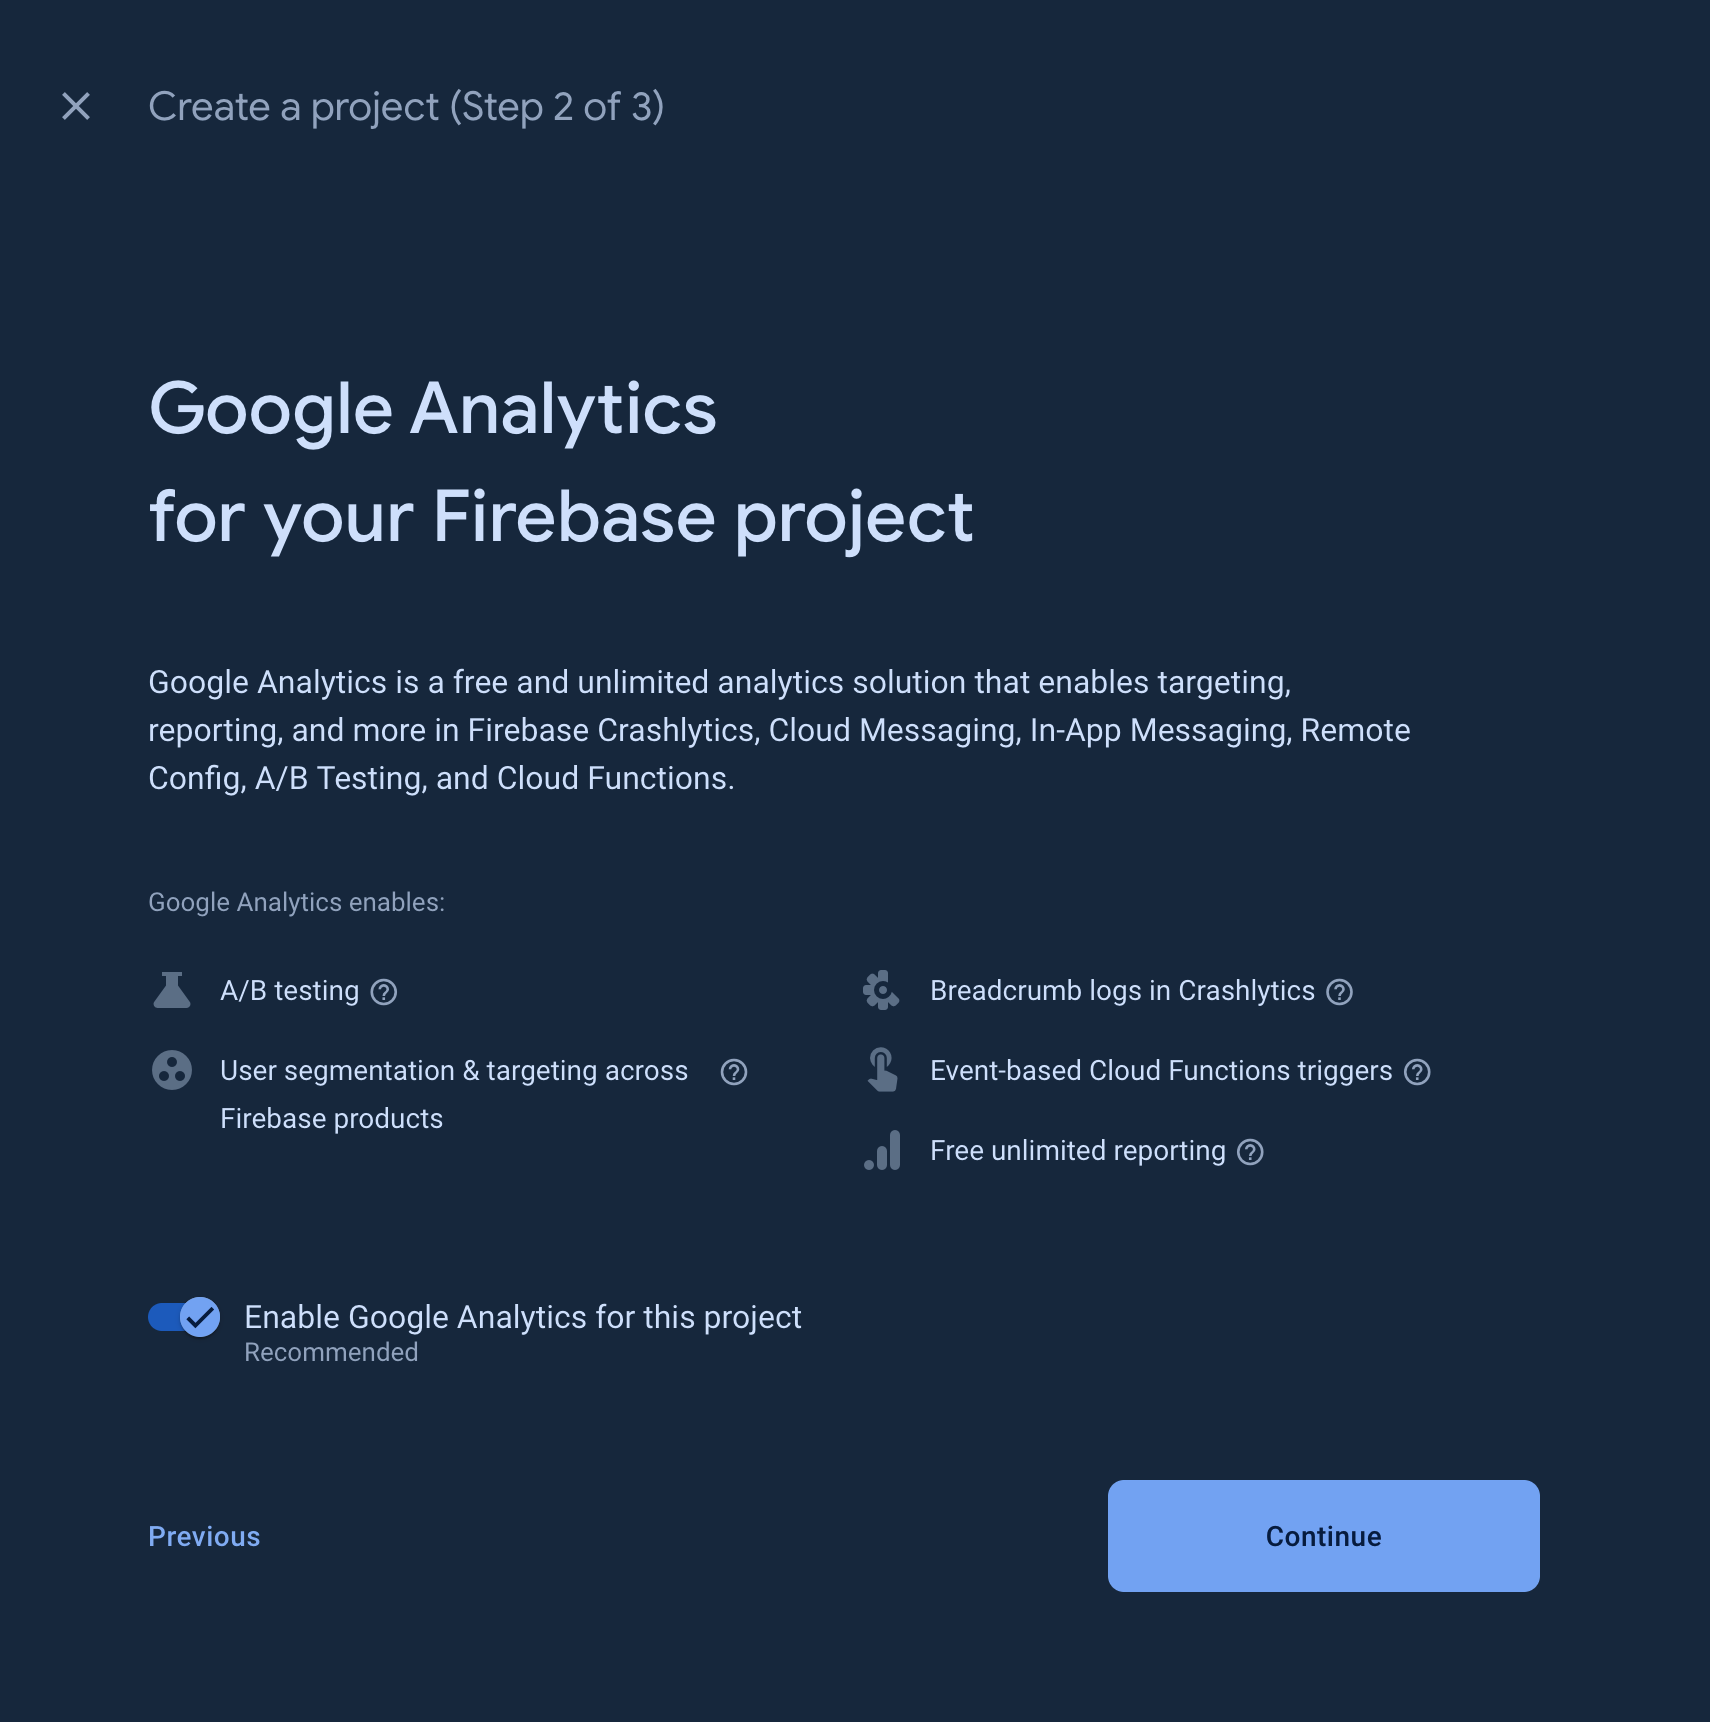
In the following step, you’ll be prompted to enable analytics. This is optional; you can choose based on your preference.
Wait until the project is created

Add configuration for Android
Now, add the configuration parameters for your Android app.

After clicking on the Android icon, you’ll be taken to a registration screen for your app. Ensure that you provide the correct package name and then click “Register.”

On the next step, make sure to download the generated google-services.json file.
Proceed to add it to your :composeApp or wherever your entry point to your Android app is within your KMP structured project.

Add configuration for iOS
The process for iOS configuration is similar to Android. Begin by adding your Apple target.

Ensure that your BUNDLE_ID, which can be found in your Config.xconfig, is correctly added in the configuration file.

As a naming convention, add the suffix “iOS” to your project nickname for clarity. This helps distinguish between different projects, I did not add it to the Android one on purpose as this is slight inconvenience that everyone does, not necessarily a must change.

In the next step, download the generated GoogleService-Info.plist file.
Right-click on the iosApp.xcodeproj file in your iosApp folder and open it with Xcode.

Copy the GoogleService-Info.plist to the iosApp folder.

A screen will appear, click “Finish.”

You can change the reference path if needed.

In Xcode, navigate to File > Add package dependencies.

Make sure to add the Firebase dependency from https://github.com/firebase/firebase-ios-sdk.

Choose the Firebase components you want to use from the repository. In this example, we’ll use analytics and crashlytics. Then, click “Add Packages.”

Due to an issue where the Frameworks, Libraries, and Embedded Content section is missing when creating a KMP project, you may need to add it manually from the Build phases tab in Xcode and restart Xcode a few times.
Ensure to add all necessary components from Firebase that you’ll be using in your project.

That’s all for the setup process. It’s a bit lengthy, but as of the time of writing this article, this is the current setup procedure.
Writing some code
1
2
3
4
5
6
7
8
9
10
11
12
13
14
15
16
17
18
19
[versions]
#Firebase android
firebase-android-bom = "32.8.1"
#Gradle
gradlePlugins-crashlytics = "2.9.9"
gradlePlugins-google-services = "4.4.1"
#Gitlive
firebase-gitlive-sdk = "1.12.0"

[libraries]
#Firebase
firebase-android-bom = { module = "com.google.firebase:firebase-bom", version.ref = "firebase-android-bom" }
firebase-android-crashlytics-ktx = { module = "com.google.firebase:firebase-crashlytics" }
#Gitlive
gitlive-firebase-kotlin-crashlytics = { module = "dev.gitlive:firebase-crashlytics", version.ref = "firebase-gitlive-sdk" }

[plugins]
crashlytics = { id = "com.google.firebase.crashlytics", version.ref = "gradlePlugins-crashlytics" }
google-services = { id = "com.google.gms.google-services", version.ref = "gradlePlugins-google-services" }
In your project’s build.gradle.kts, include the following plugins:
1
2
3
4
5
plugins {
    ...
    alias(libs.plugins.google.services) apply false
    alias(libs.plugins.crashlytics) apply false
}
In your :composeApp or Android app entry point, be sure to include the following plugins:

Ensure that your :shared module’s build.gradle.kts contains the necessary setup.
1
2
3
4
5
sourceSets {
        commonMain {
            api(libs.gitlive.firebase.kotlin.crashlytics)
        }
}
Testing the implementation
Once your setup is complete, you can run the Android app to verify the implementation.

Additionally, you can configure settings such as disabling crashlytics collection on Android. Further details on configuration options are available in other articles. Below, I’ll demonstrate how to configure this on iOS.
On the iOS side, you can configure the collection settings as follows. Start by adding the initialization point to your iOSApp.swift:

Then, within your MainViewController.kt file, you can define your Kotlin logic to enable or disable collection in debug mode:

When you run the app through Xcode, you’ll notice that Firebase has been successfully initialized:

Conclusion
Integrating Firebase into your Kotlin Multiplatform project facilitates sharing some platform benefits seamlessly. However, it’s worth noting that Firebase lacks support for Desktop, including but not limited to Crashlytics. This limitation may affect your project’s scope.
Stay hydrated in the early summer heat! Don’t forget to drink water. Thanks for reading, stay cool!
Until the next article!
